Document Studio is integrated with Google Cloud Print and you can choose to automatically print your merged documents as soon as they are generated.
To get started, go to the Google Cloud Print website at google.com/cloudprint and ensure that you have connected your printer with Cloud Print. The service works with both newer Wi-Fi ready printers as well as old printers that are attached to your computer through a physical USB cable.
To setup a classic printer that is attached to your Mac or Computer, open Google Chrome, and type chrome://devices in the address bar. Under “Classic Printers,” click Add printers. In the “Printers to register” section, select the printer you want to share, then click Add printer(s).
Automatically Print with Document Studio

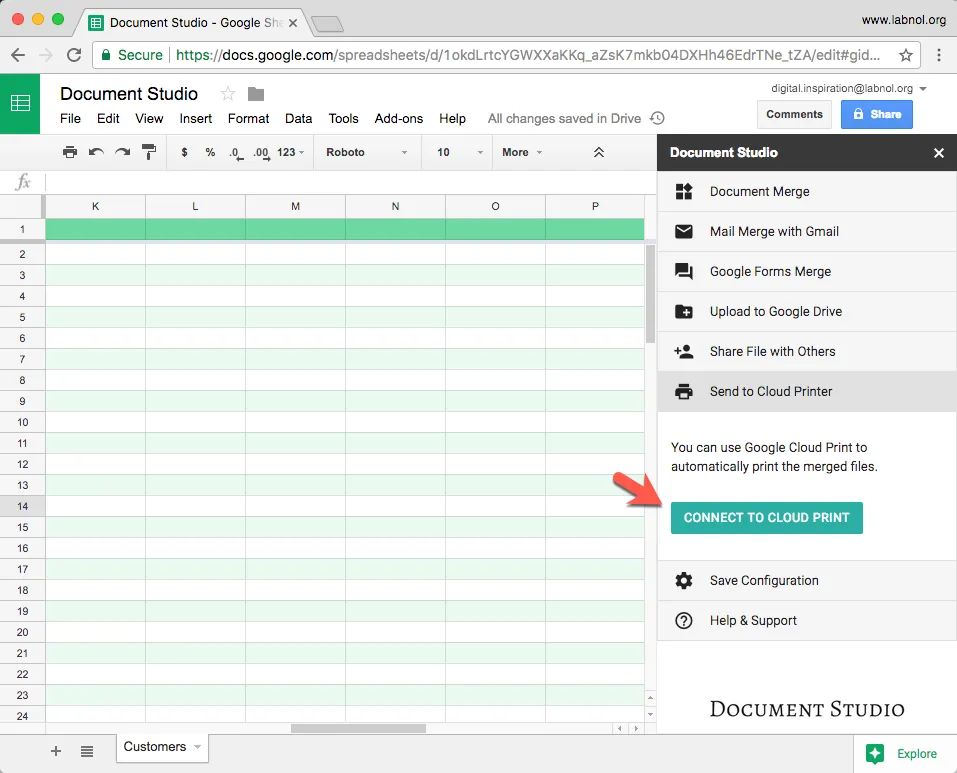
Once the printer has been added to Google Cloud Print, go the Document Studio section in your Google Spreadsheet and expand the “Send to Cloud Printer” section.
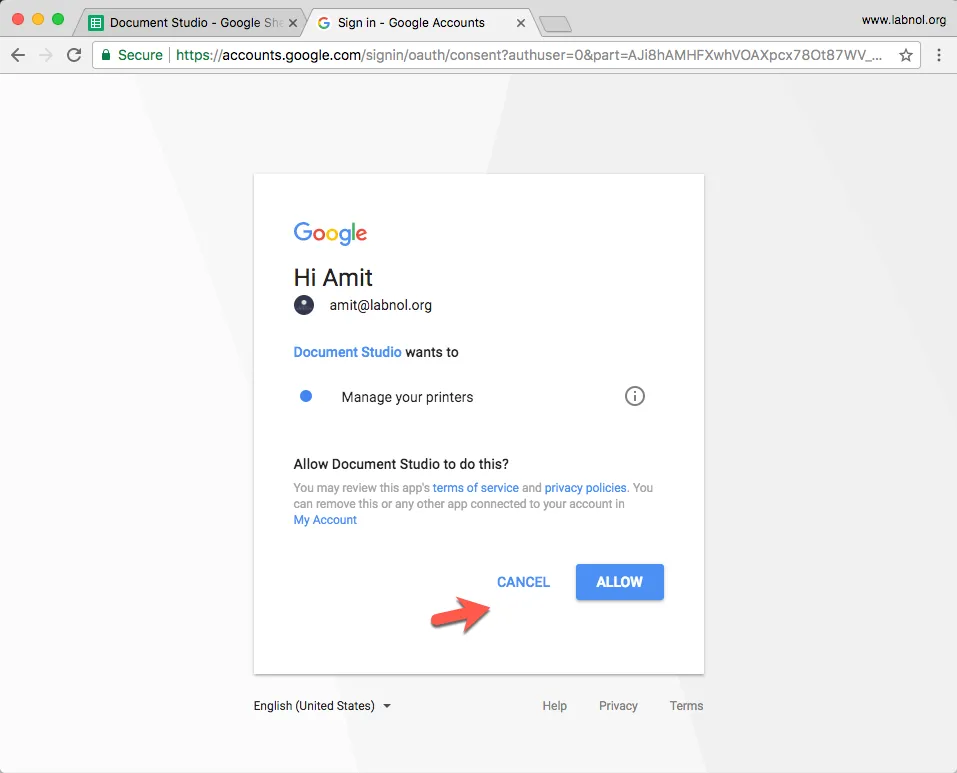
Here click the Connect to Cloud Print button and authorize the add-on to access your printers.

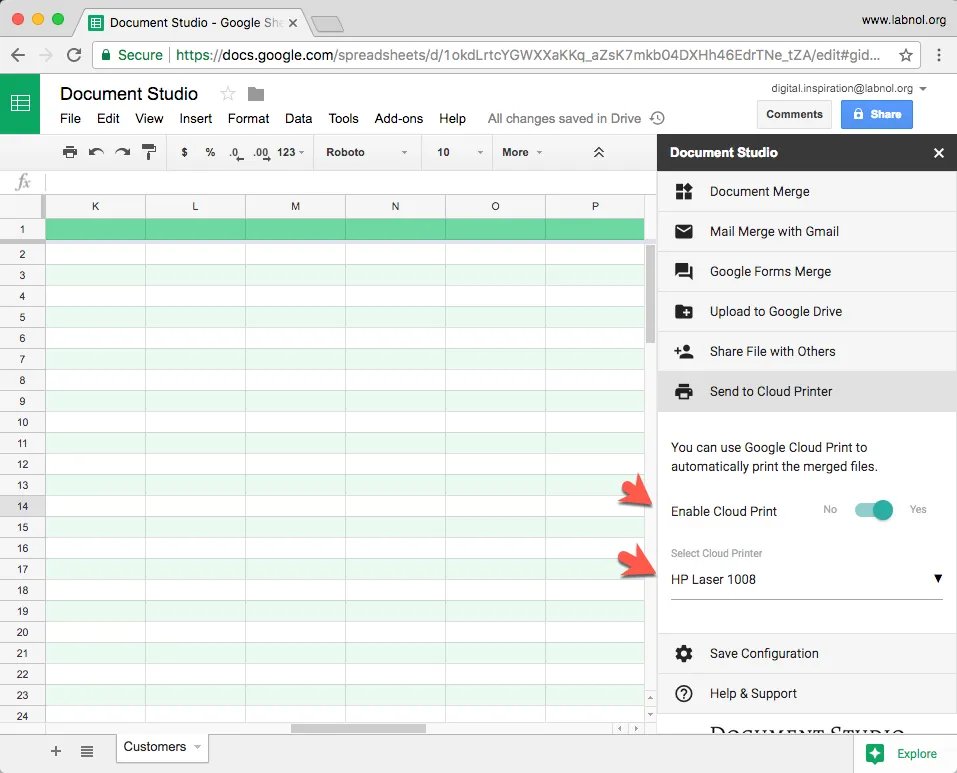
Once authorization is granted, enable Cloud Print in the addon settings and choose the printer from the drop down list.

That’s it. Merged documents will be directly sent to the printer as soon as they are generated. If later you wish to stop auto printing documents, simply toggle the Cloud Print option.


