TechSmith today released a new version of Camtasia Studio, the popular screencasting software that is available on both Windows and Mac platforms.
I have been using the Windows version of Camtasia Studio 7 for sometime now* and there are quite a few new features in this release that will make it easier for users to edit and produce screencasts and presentation videos.
Mail Merge screencast was recorded using Camtasia Studio 7.If you are already using an older version of Camtasia, the first change that you’ll immediately notice in Camtasia Studio 7 is the revamped UI - they’ve moved from the classic XP like blue design to a black glass-like but non-transparent interface. The vertical task bar is gone and instead, you have a tabbed horizontal bar that gives you quick access to all the various editing tools but you can no longer hide this area.
When you create a set of screencasts, there are couple of elements that are common in every video. For instance, the intros, the background music, the title clips, watermarks, transitions, etc. won’t necessarily change with every video.
Camtasia 7 has therefore added something called libraries that lets you arrange all these “common” elements in one place so you can easily reuse them later. You may also use Libraries in Camtasia to bookmark all your frequently used transitions, call-outs, title designs, etc. so you can quickly access them in your next screencast movie.
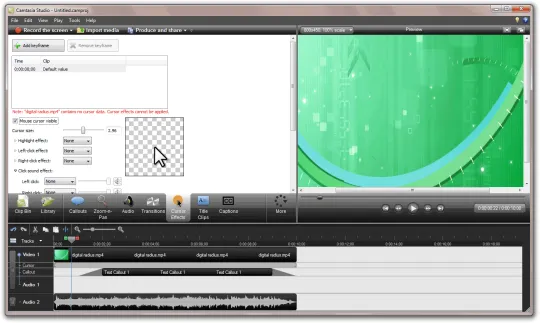
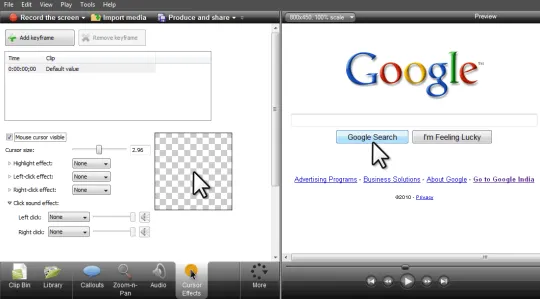
One of the most useful features in version 7.0 is “cursor” effects. When editing a screencast, you can either completely hide the mouse cursor from the final video or, if the cursor is barely visible, you can even increase the size of the pointer in few easy steps. This is a brilliant feature though I did notice some erratic cursor jumps in one of my videos even when the effects were turned off.
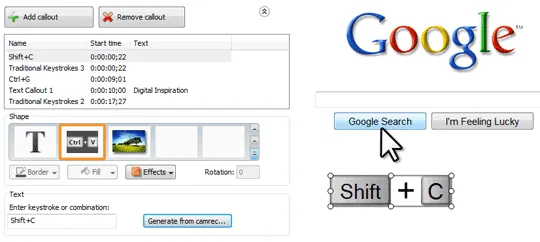
Like the cursor, Camtasia Studio can auto-capture the keyboard strokes that you hit during the screen recording and these keystroke combinations can be displayed over your video just like a text caption (see the screenshot below). Earlier, if you were to display a key stroke, you could only do that manually.

With Camtasia Studio 7, you can produce and upload screencast videos to the YouTube website with a single click. You just have to record the screencast, type in your Google Account credentials and Camtasia will upload the videos in the 720p HD format as long as your recording dimensions are 1280x720 (HD).
That said, there are areas where Camtasia still needs improvement. For instance, the built-in title editor is very basic and there’s absolutely no support for rollovers and closing credits. As a workaround, you can produce title videos in Windows Live Movie Maker and import them into Camtasia Studio.
Camtasia does have support for captions (or subtitles) but you can’t export these “closed captions” as text files. This feature, if available, can be quite useful because sites like YouTube can not only read caption files but they can even translate them into other languages (your videos can therefore reach a bigger audience).


