You have a copy of Microsoft PowerPoint on your computer for creating slides but do you that the same software can also be used as an easy alternative to Adobe Photoshop for applying some very impressive effects to your photos and screenshot images.

Apply Photo Effects in PowerPoint
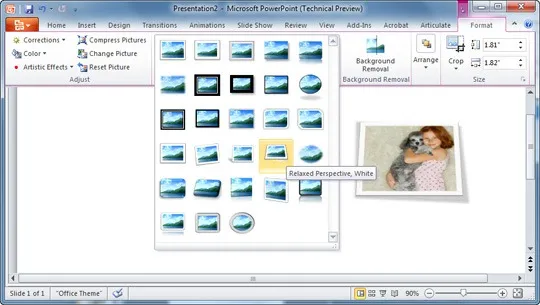
Fire up PowerPoint, insert a blank slide and add a picture into the slide that you want to manipulate. Now select the picture while it’s there on the slide and apply any of the effects from the Format menu. Both PowerPoint 2007 and 2010 include a wide range of effects from reflections, photo frames to rounded edges that you may apply with a single click.
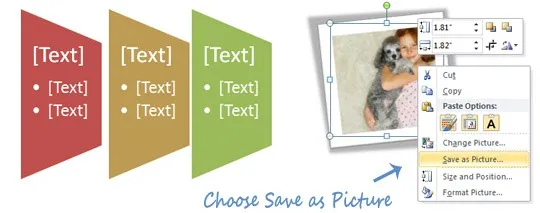
Once the effect is applied, right click the edited picture and choose “Save As Picture”. PowerPoint will ignore all other objects that may be on the slide and will save just that edited image for you to use it at other places.

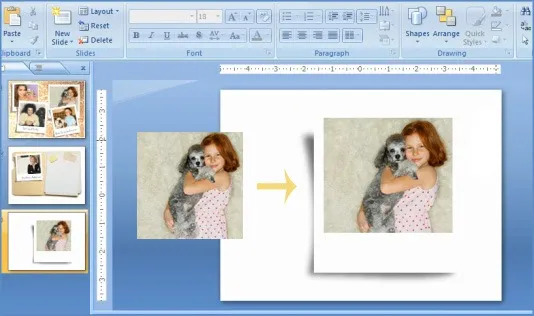
Now that was using the default settings but if you are looking for that extra bit, here’s a video tutorial from David Anderson that demonstrates how you can quickly create your own photo effects (e.g. Polaroid) in PowerPoint using tools and shapes that are already available inside the application.


